


Fun Water Bottle Project
Posted on June 24, 2018 by Ching under Projects.
Brian surprised me with a really cool, customized insulated water bottle a few weeks ago. We both have S’well bottles that we’d gotten for Christmas a few years back. They work great but they’re kind of expensive.
Recently, Brian found some better insulated water bottles at Walmart. They work like S’well bottles in that they can keep hot things hot for 12 hours and cold things cold for 24 hours but they’re actually better in that they have a wider opening so they’re easier to fill with large chunks of ice and they have a built-in carrying handle. Not to mention they are cheap!
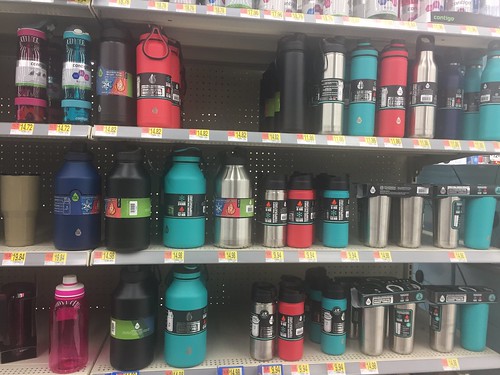
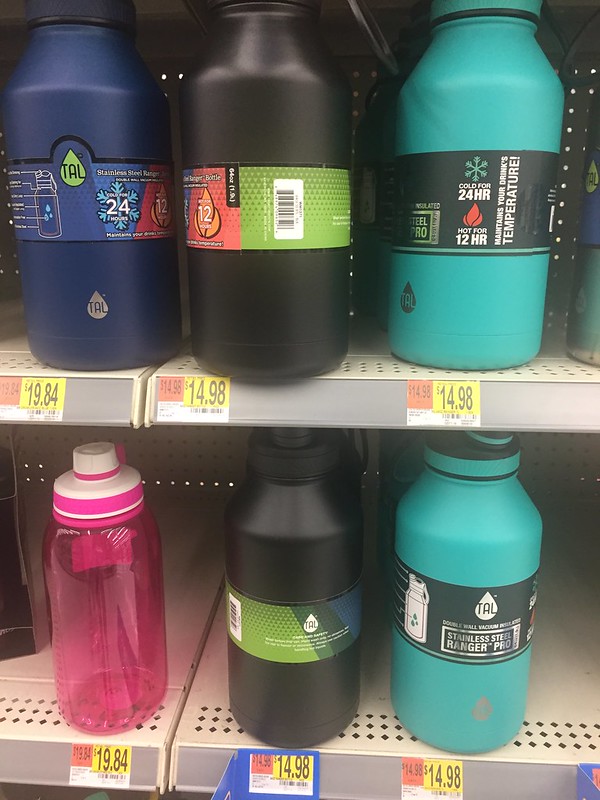
The Walmart by our house had tons of them in various colors. We saw four sizes: 64, 40, and 26 ounces. And, because we never can just have one of something, we got a bunch in various sizes. You can never have too many insulated water bottles.
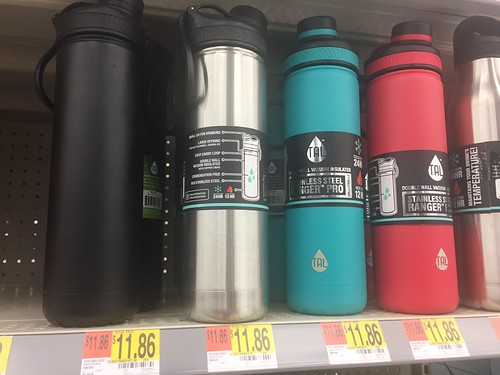
The skinny 26-ounce one was only $12. I mean, we could get three of these for less than the price of one S’well bottle. You can’t beat it.
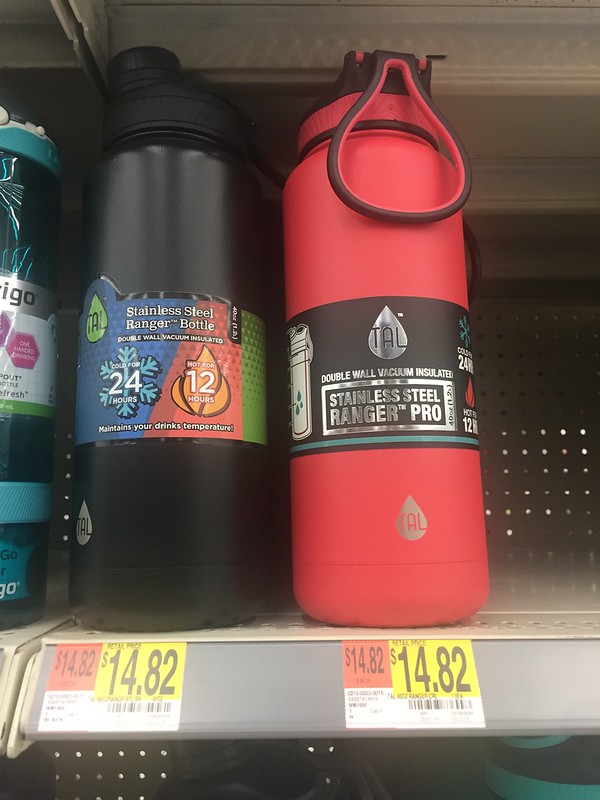
The 40-ounce one that Brian got me cost less than $15! The gigantic 64-ounce one was only a few cents more.
The best part about these water bottles is that if you mess up your project, it’s not too bad because they didn’t cost a fortune.
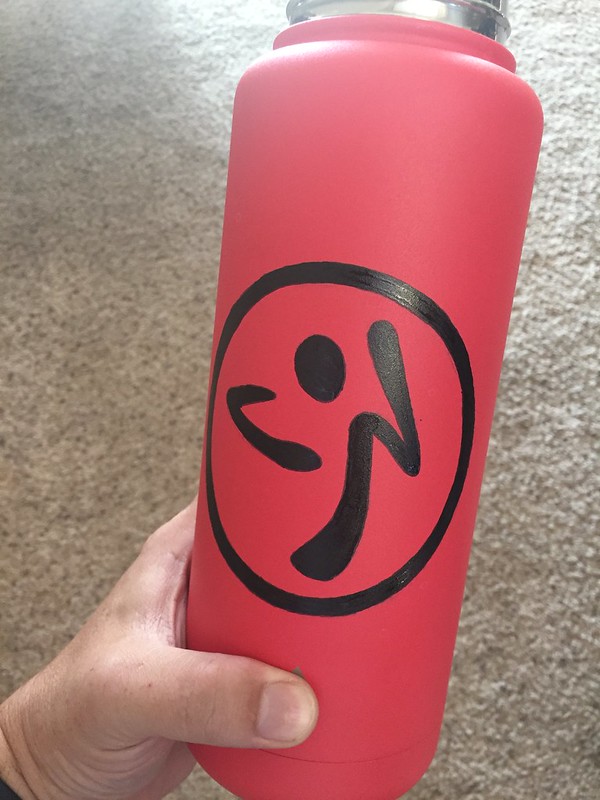
Brian’s brilliant project idea was to customize my new water bottle with the Zumba logo and my name. The finished product looked amazing! I could not wait to show it off to friends when I went to Zumba class. It is definitely one of the best surprise gifts that Brian has ever given me!

Here are some step-by-step progress pics for those of you curious how he did it and want to make your own. Brian says it’s not complicated. It just requires patience more than anything else.
Besides the water bottle, you’ll need permanent paint markers. Brian had some Sharpie ones that he purchased just for this project.
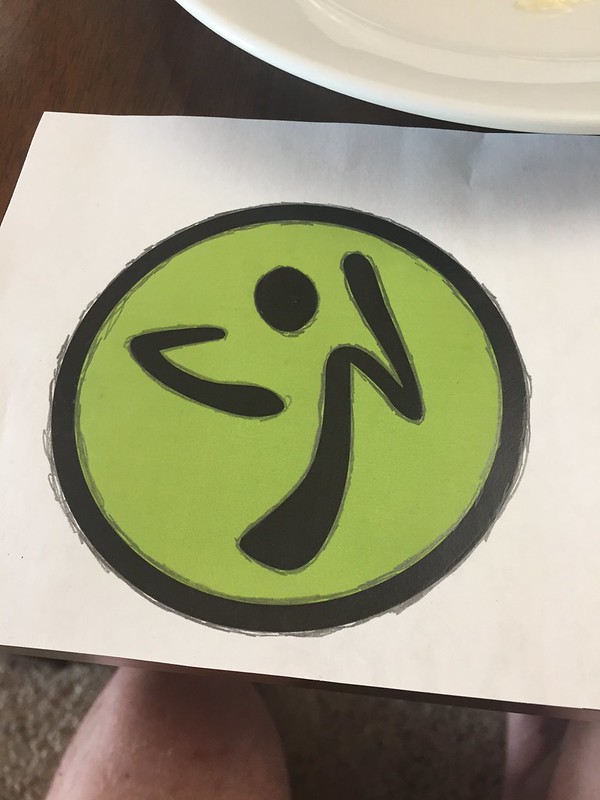
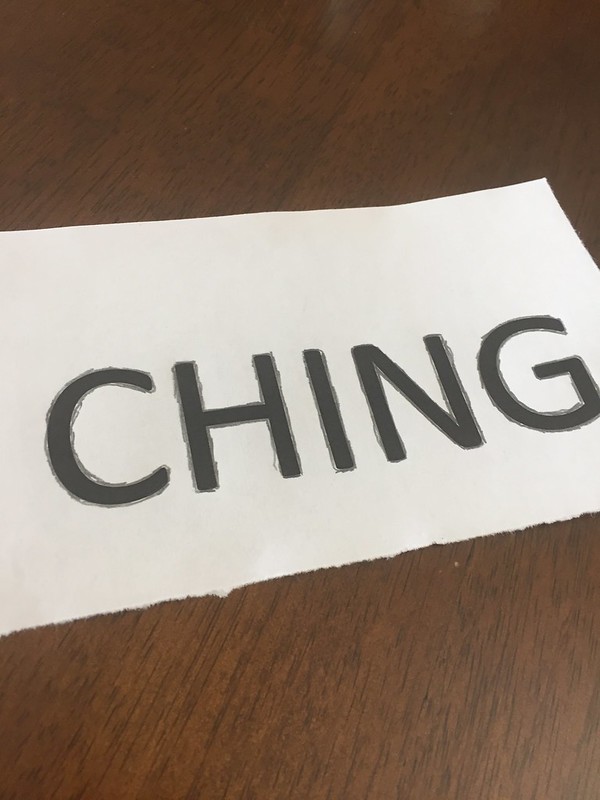
First, you need to create a template for the design you want to use.
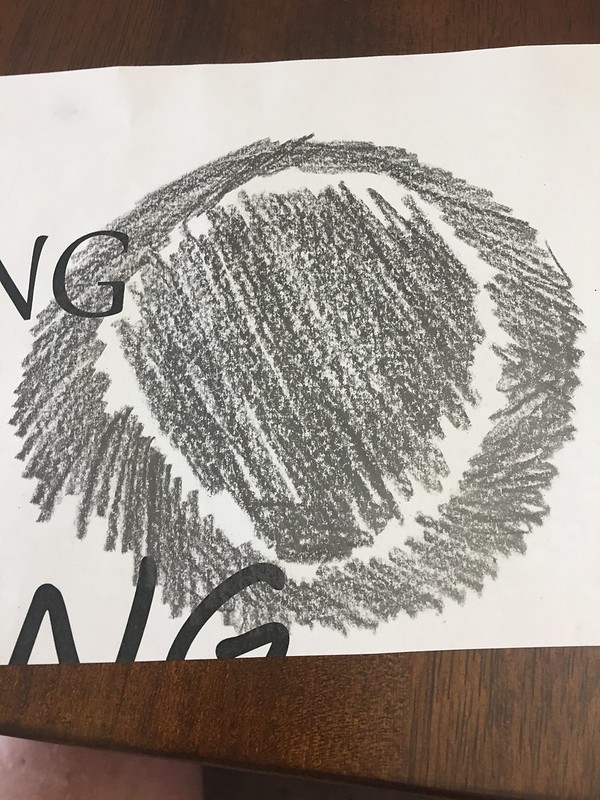
Then you cover the entire back side for the drawing in pencil lead.
This is how you get the design to transfer to the water bottle. You can also use carbon paper for this part but this is a nifty trick that Brian learned in art school and it works great in a pinch.

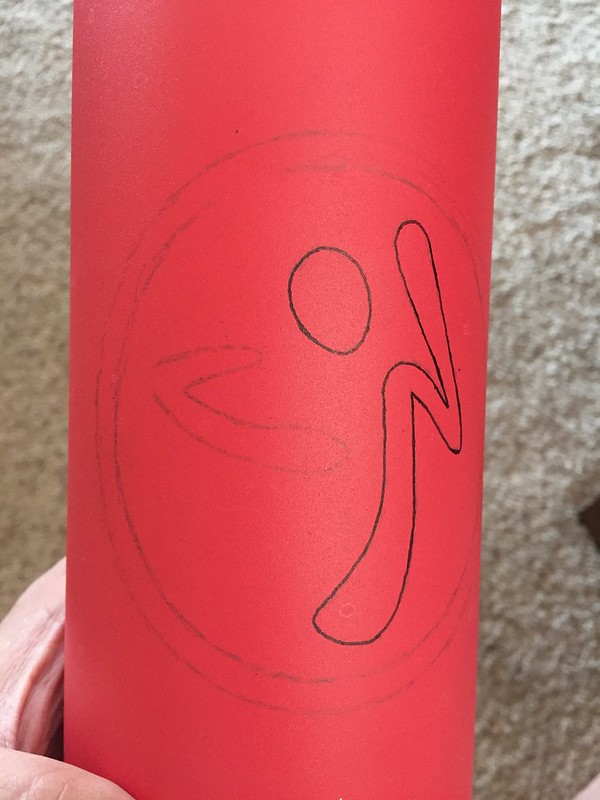
The next step is to trace the outline in Sharpie and then fill in the design with the paint marker. Brian recommends using the paint markers because they work on any surface and they hold up better than just a regular Sharpie but if you want to use a regular Sharpie I guess you could.
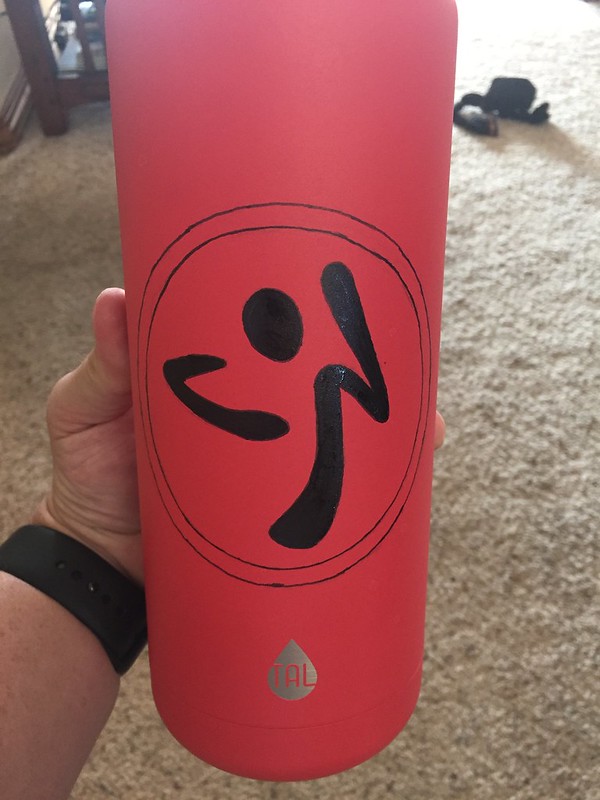
Once you’ve filled in the design, let it dry for at least 24 hours.
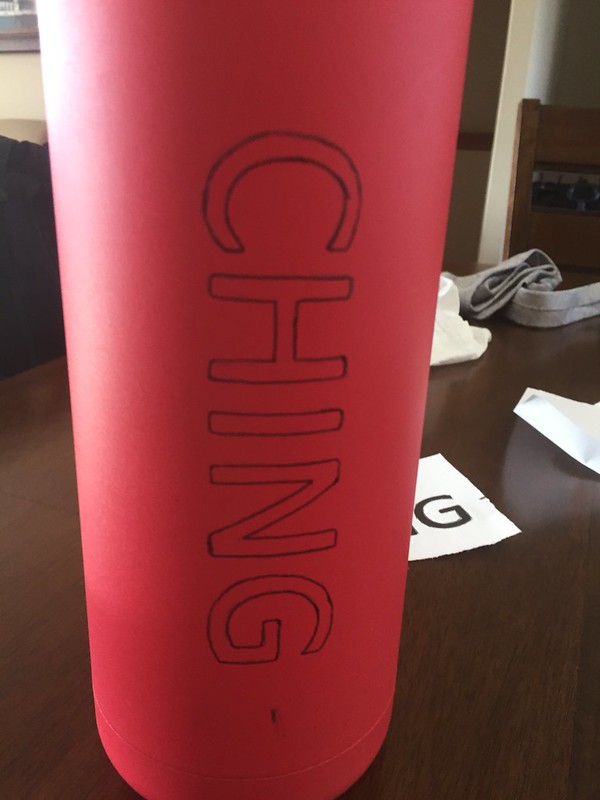
Next, he added my name to make it extra special. You can freehand this part if you have neat handwriting. Brian opted to use a nice font because he’s a perfectionist who is gifting this to another perfectionist. LOL.
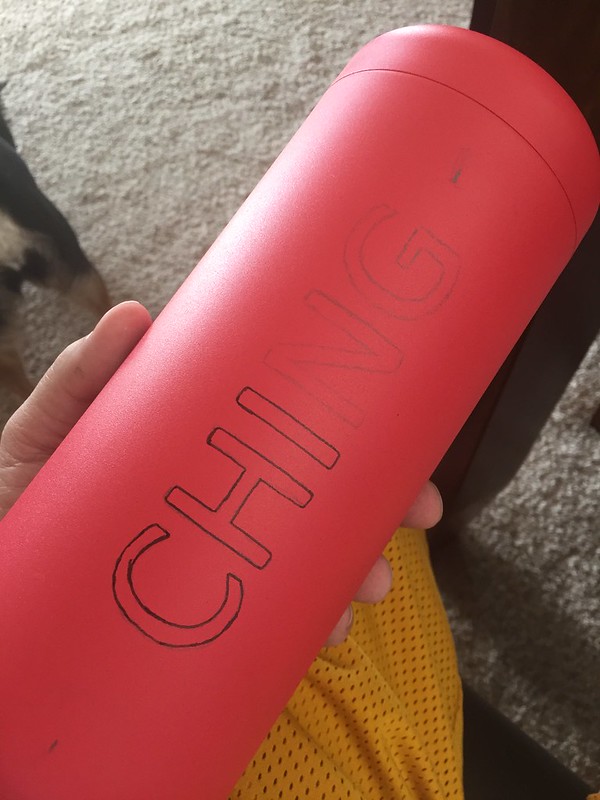
You use the same steps as before to transfer the design to the bottle, fill it in with the paint marker, and then let it dry for another 24 hours.
Voila! There you have it. A very cool customized water bottle that will keep your water (or beverage of choice) a constant temperature throughout the day. It’s so easy that Alex actually did hers during Brian’s party last weekend.
Anyway, I hope you’ve found this tutorial helpful. Next weekend Brian and I plan to each do a water bottle project LIVE on our FLIP + CHING Facebook page. Tune in on Sunday, July 1, around 9:30 AM.
If you’ve done a similar project before, let us know how it went in the comments. We love hearing ideas and learning from others.
Until then, happy crafting and GNG!
Related Stories
« Ginger’s Retirement Party « this post » New Movie Theater in Wichita »
