


Archive for "Projects"
Photo Shoot Pictures
Posted on July 4, 2019 by Ching under Projects, Zumba.
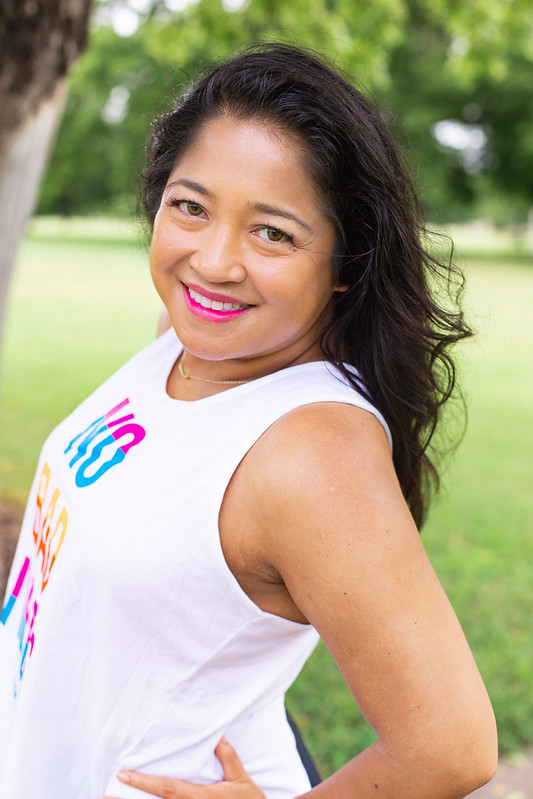
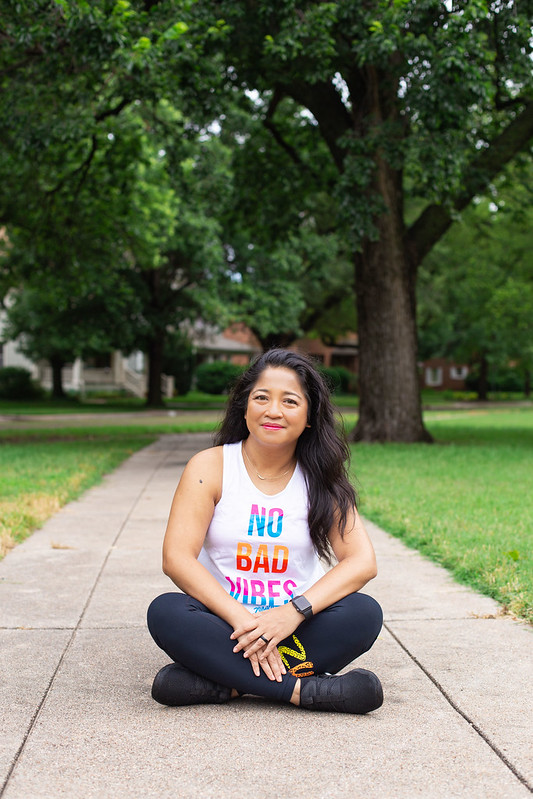
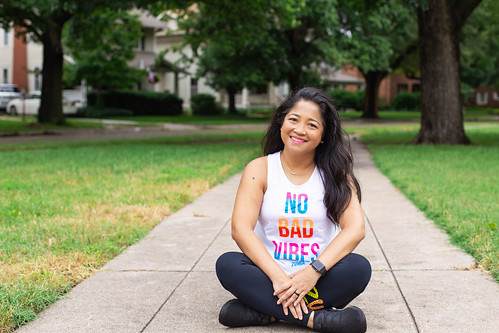
Here’s a link to the photos that Hannah took a few weeks ago at Riverside Park. In case you don’t have time to follow the link, I’m sharing some of my favorites here.
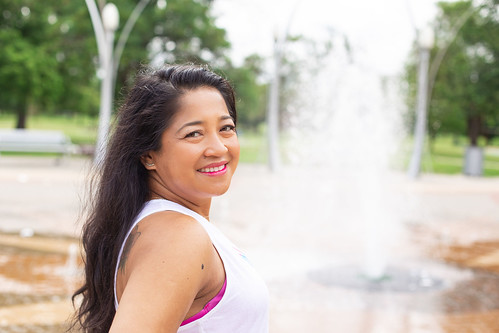


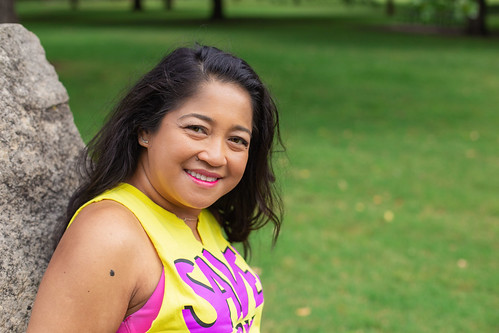


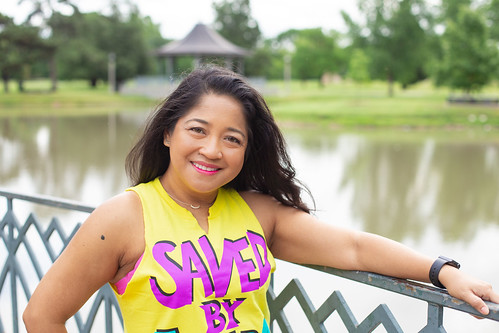
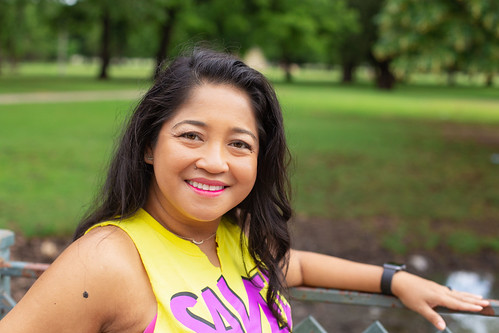


Okay, so since I shared so many of these, you’d think that I liked them all. There are actually quite a few more photos that I didn’t share here. They were all very good. I just didn’t like how I look in them.
I’ve already used a few of them to promote some of my Zumba classes. They’re perfect for that purpose.
Hannah did such a fabulous job on these that Brian and I have scheduled another shoot with her. This time it will be with both of us and the dogs.
Speaking of photo shoots, Brian and I had a photo shoot a couple of weeks ago with another photographer. The photo session was given to us by my coworker Tammie who had won it at the Memory Gala.
We also loved those photos but the price was kind of expensive so we didn’t end up getting the rights to use them. We are getting an 11 X 14 mounted print that we can frame and hang on the wall, though. We won’t get it for a few weeks but will definitely let you know when we have it.
Brian did take a few photos of me and the dogs while we were waiting for the photographer. His photos actually turned out well.

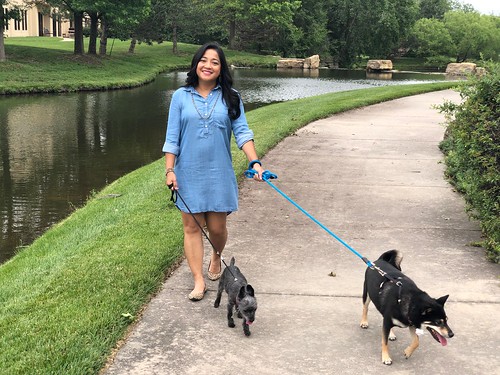

While these pictures that Brian took aren’t professional photos, they’re actually quite good and they didn’t cost us a penny! LOL.
Until next time. GNG.
No Comments

Help Us Light Up Edgemoor
Posted on May 25, 2019 by Ching under Outfits, Projects.
A pickleball friend is selling t-shirts to help raise money to get lights installed at the Edgemoor Park outdoor pickleball courts so we can start playing in the evening (when it’s cooler). I bought a couple — one for me and one for Brian — to support the cause. Except, I can’t leave shirts as they are so I had to customize mine.

I turned it into a super cute tank top.

The shirts are super soft and amazing. They’re perfect for cutting and customizing! Anyway, Brian doesn’t play as much as I do so he ended up giving his shirt to me so I customized that one as well. I will try to get a pic of it next time I wear it.
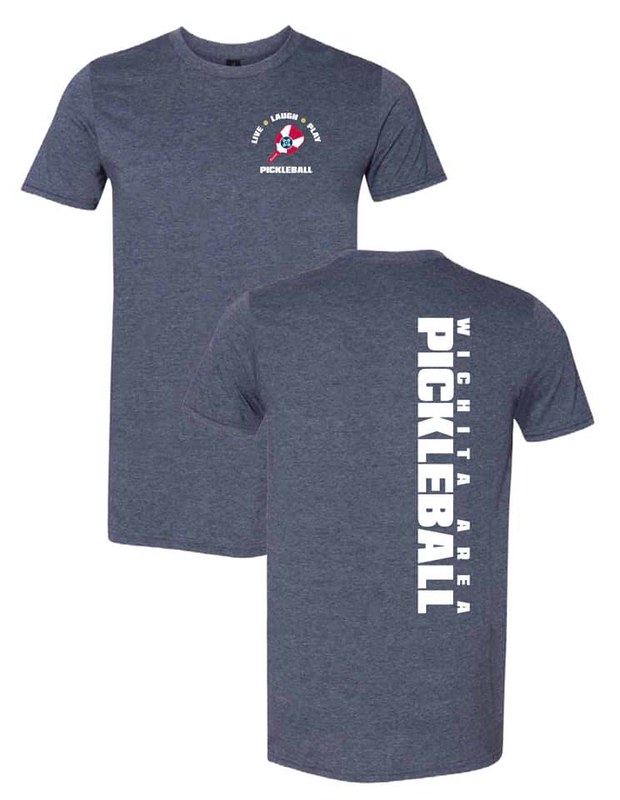
This is what the shirts actually look like. I’m not sure if there are any left but, if you are interested in purchasing one for $15, please email Kathy Huschka at mkhuschka@hotmail.com.
No Comments
Women’s Network Event
Posted on December 16, 2018 by Ching under Date Ideas, Projects, Things to Do.
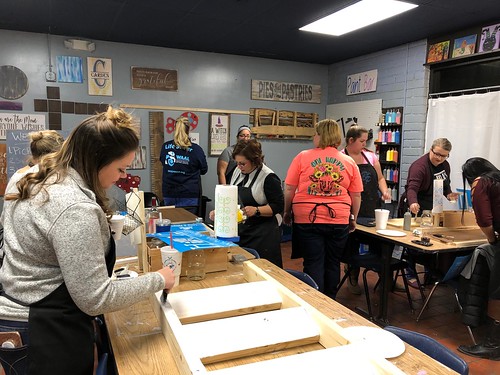
I had the opportunity to attend the women’s network holiday event last weekend. Alex organized an outing for us at the Busted Pallet. Coincidentally, it was on the exact same day last year that the same group was at Paint the Towne painting Wichita flags. I haven’t been able to make all of the luncheons this year and so I was very grateful that the holiday outing turned out to be on a week when I’m in town so I can at least participate.
Here are some pictures from that evening…
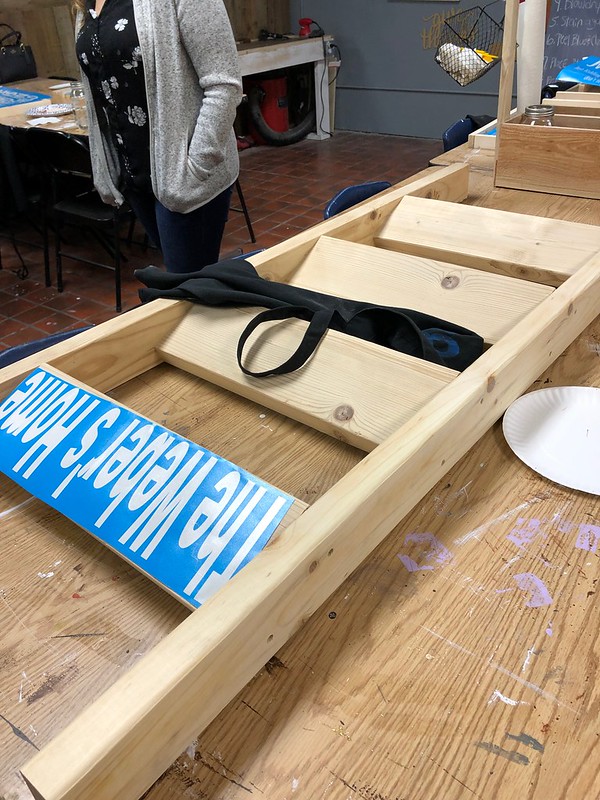
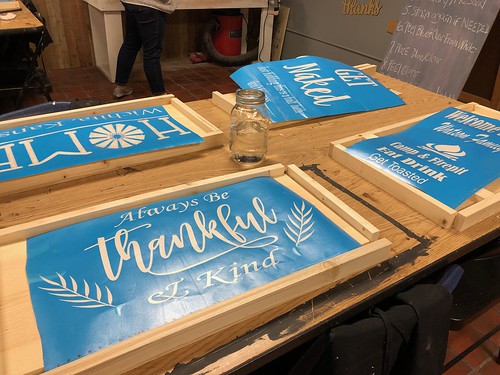
When we arrived, they had all of our project materials ready. This is Alex’ blanket ladder.
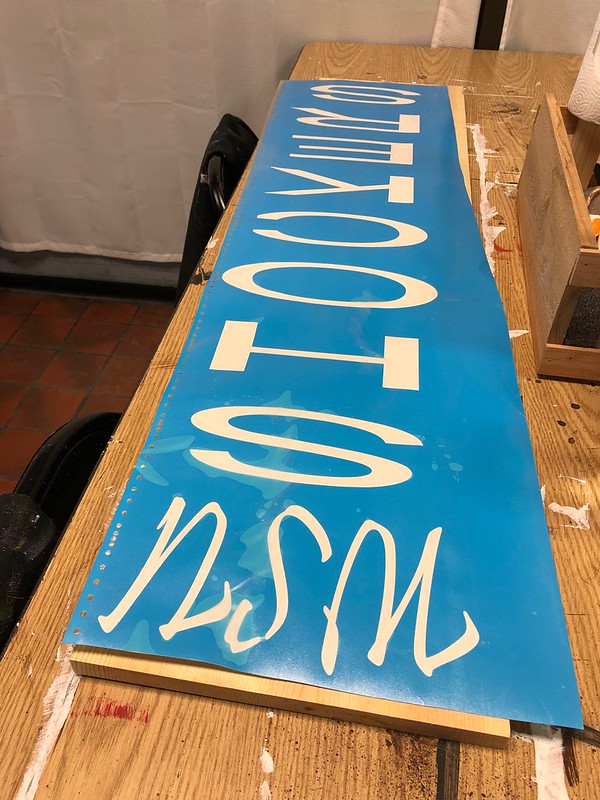
This is Bonnie’s Wichita State Shockers porch decor.
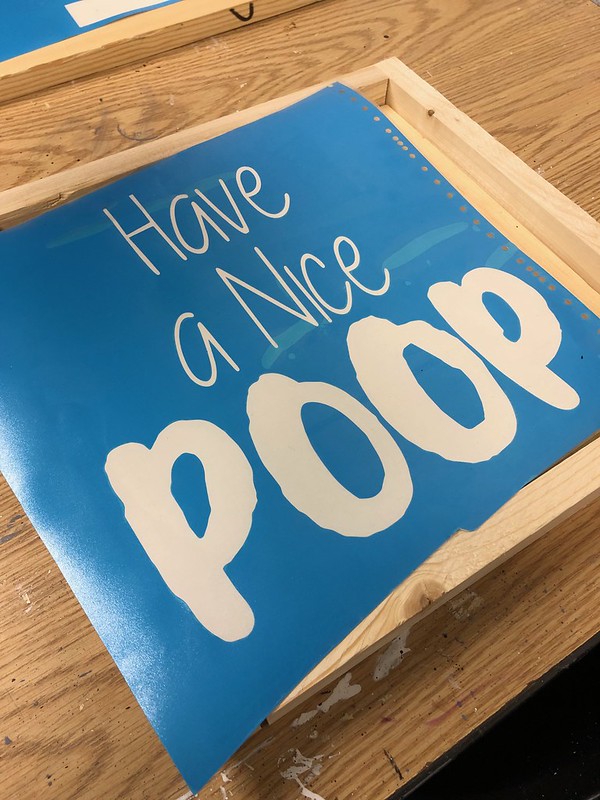
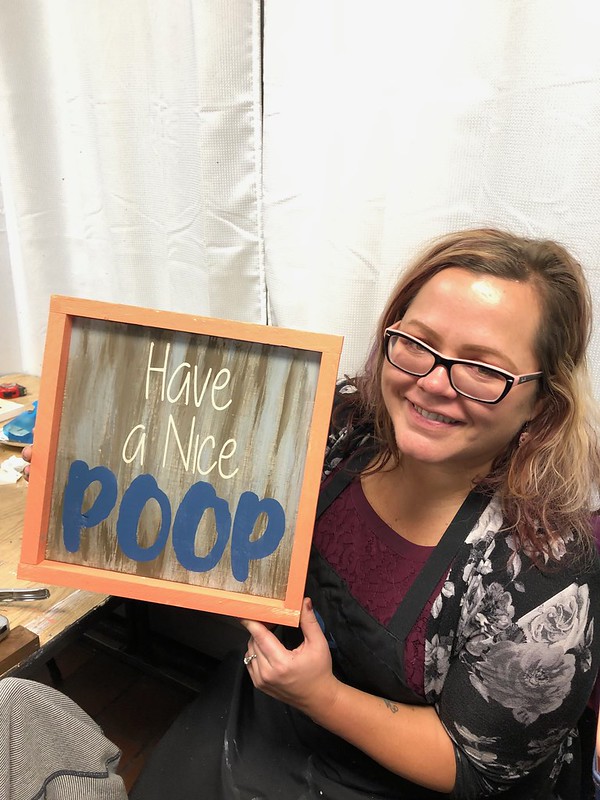
This is Tasha’s “Have a Nice Poop” sign. I saw this option and didn’t think anyone would actually pick it. LOL. Don’t worry. It’s going in her bathroom.
When you book your workshop, you fill out an online form and you’re asked to select a project. They ask this ahead of time so they can have all of your materials (wood, stencils, etc.) ready for you on the day of the workshop.
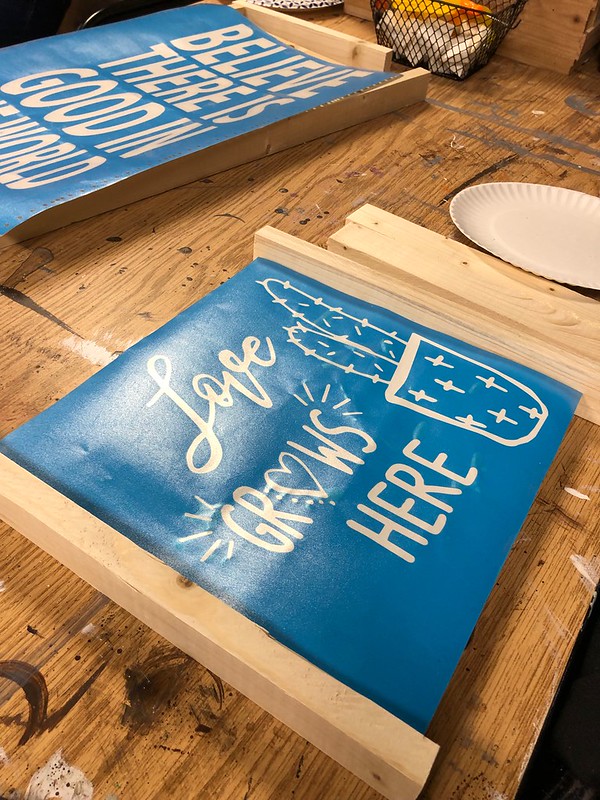
Yuvina made a “Love Grows Here” sign.

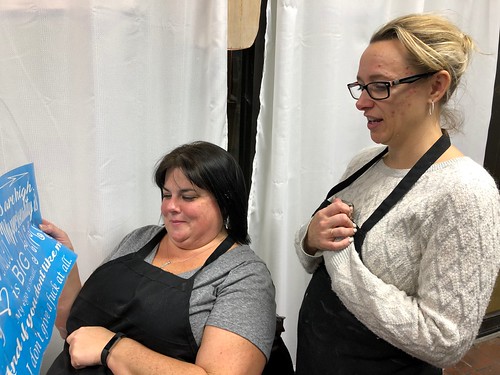
Nykole picked “Believe There is Good in the World” which, when you see the finished product, actually contains two messages.
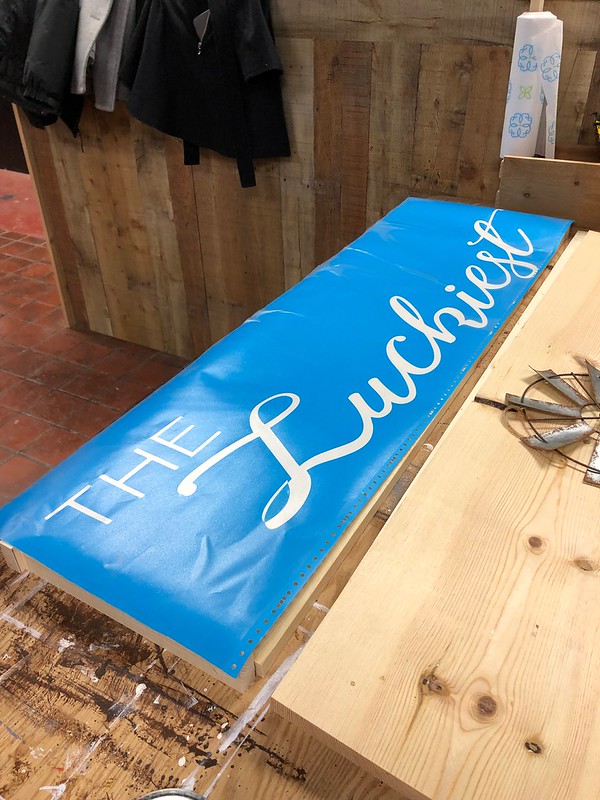
Shanda painted “The Luckiest.”
There were no two projects alike. Everyone picked something unique. Some even personalized their projects with their last name. It was really cool.
Not knowing who RSVP’d for the event, it was kind of fun trying to guess which project belonged to whom. As people arrived and found their workstations, it was interesting to learn what each person had picked. There was a story behind each one and you got to learn more about your coworkers. Kudos to Alex! This activity was truly a great pick for a networking event.
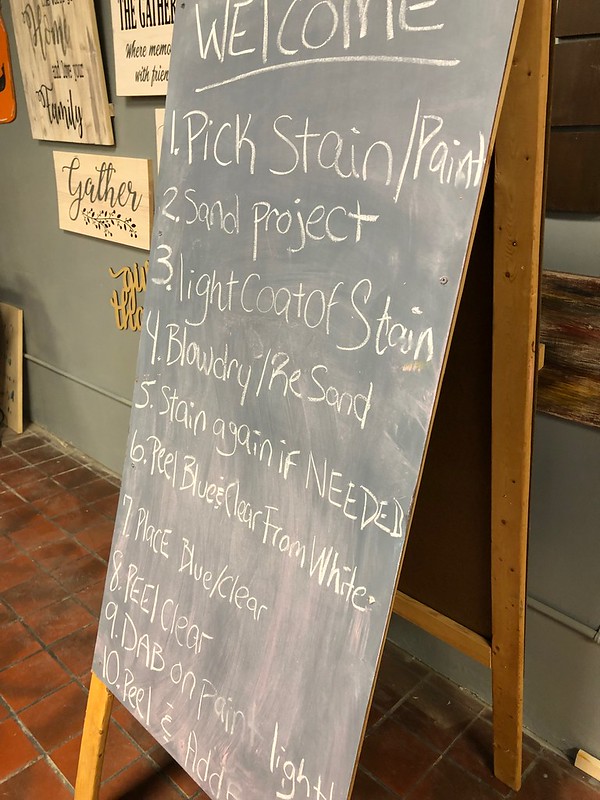
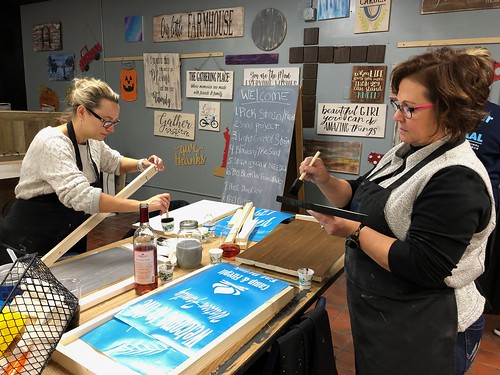
There were a couple of Busted Pallet people there to supervise but we pretty much followed the instructions on this board. One everyone arrived and found their stations, we got to work.

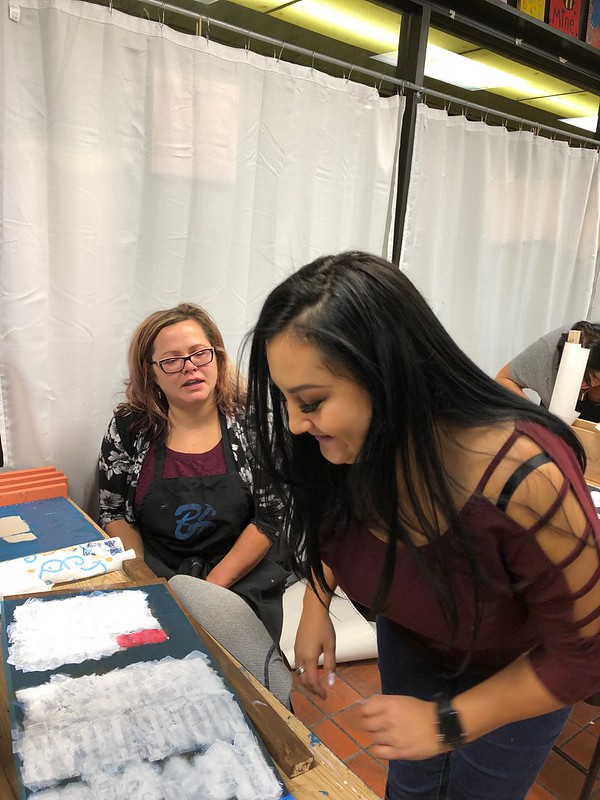
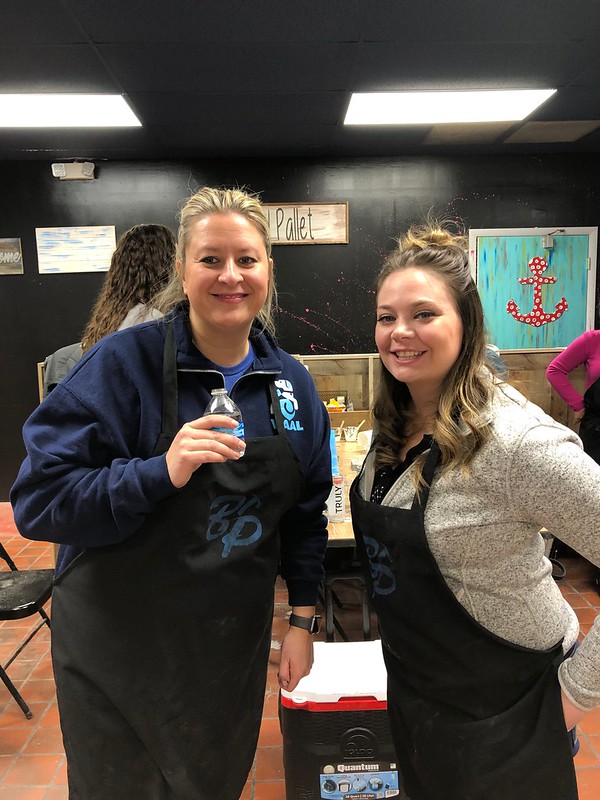
I was stationed next to Carly, who I hadn’t seen in forever. We used to work together in the contact center many years ago. I saw her every now and then when she moved to our billing group but now she works out of our new operations center so I rarely get to see her anymore. I try to keep up with her on Facebook. She recently returned from celebrating her 40th birthday in Mexico with a bunch of girl friends. It looked like such a fun trip.
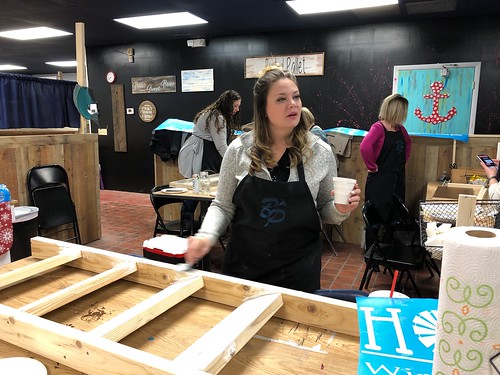
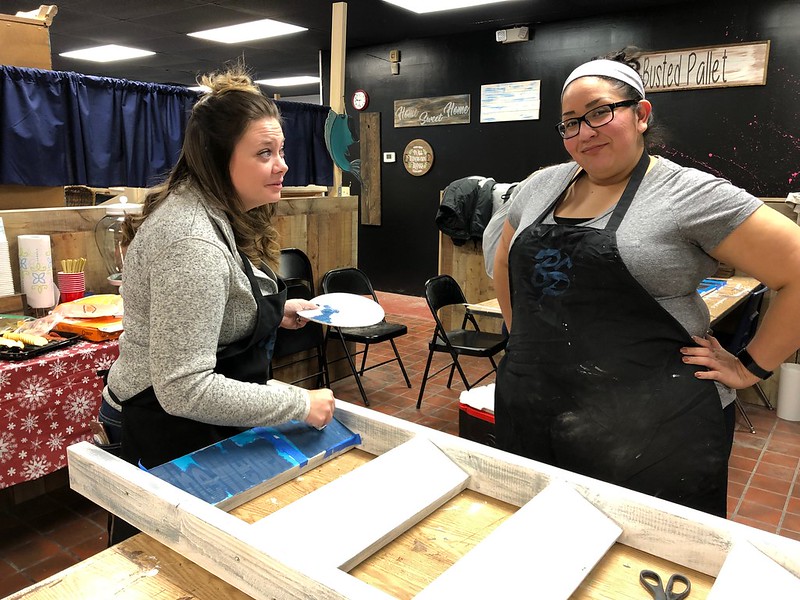
This is Bonnie. She’s recently got promoted to supervisor in the contact center and is graduating from Wichita State (thus, the Shockers sign that she’s painting). She’s having quite a year, too! Congrats, Bonnie!
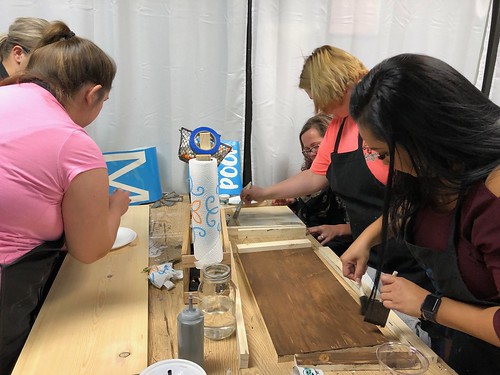
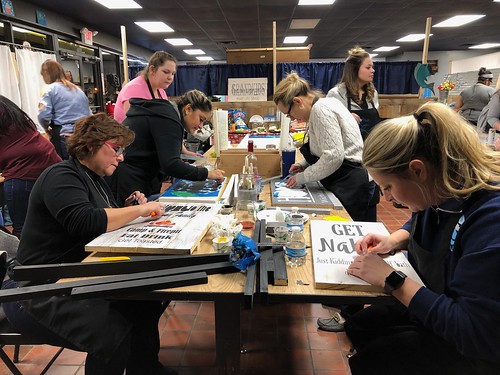
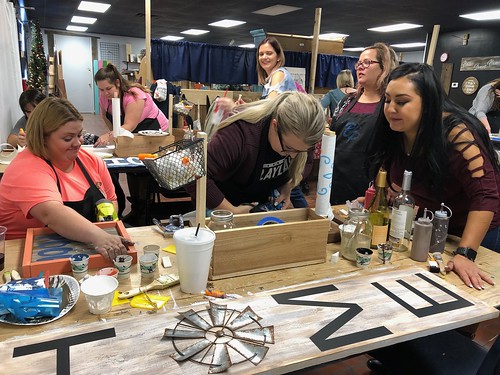
Here are some photos of people in deep concentration while working on their projects. Alex, and her big ladder project, had the biggest work space of all.
Here’s Kati and Kim busy with their projects. Interesting bit of trivia, Kati and I worked together many years ago when she was in the contact center. She was on my team. The contact center is kind of a springboard for people. It’s where most people start their careers before moving on to bigger and better things.

Here’s Kati reading Carly’s sign. Carly has been hanging on to this saying for a long time. She can finally put it on her wall.
Here’s Shanda and her friend.


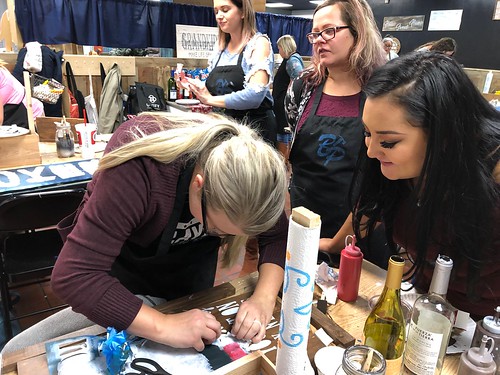
A picture of Tisha carefully peeling of her stencil.

Tasha and Ennidh…
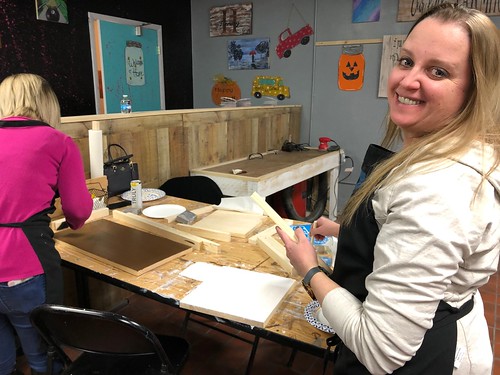
Alex and Yuvina… Yuvina looks so sassy in this pic.
Here’s Misty. I’m glad she was able to join us.
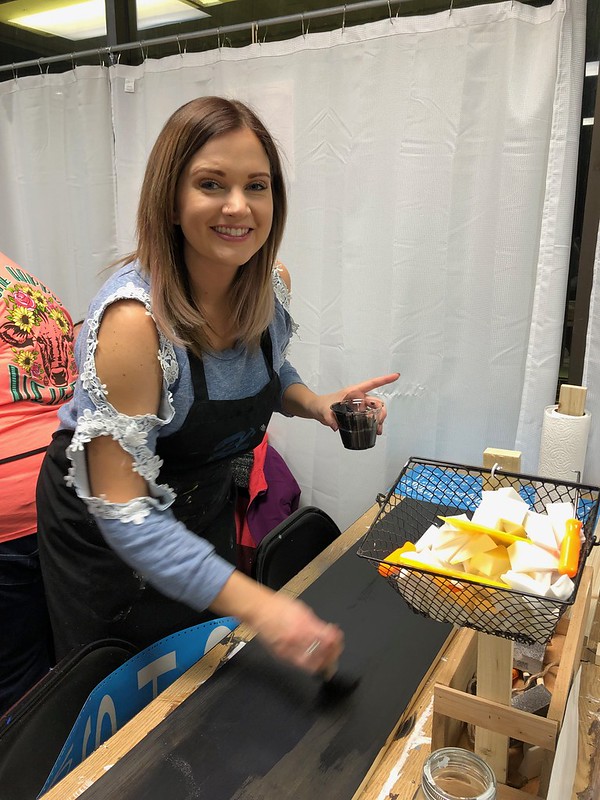
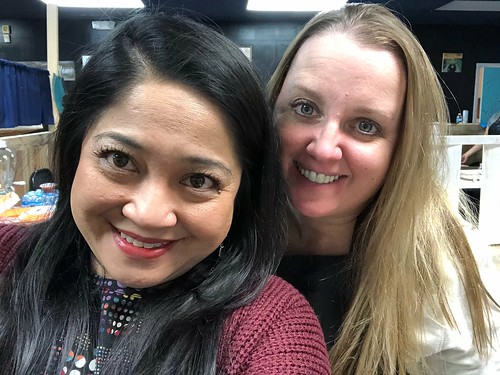
I took a selfie of the two of us. Full disclosure, I picked the easiest project of everyone because I wanted to make sure I had time to walk around and take pics. Also, I really wasn’t sure what I would be able to manage in the amount of time we had so I kind of underestimated my capacity. I think I was the first one finished with every step, which gave me plenty of time to go around and take photos.
Here’s a picture of Misty’s nearly finished project.
Here’s Alicia and Alex.
A photo everyone putting the finishing touches on their project.
It was a pretty good turn out.
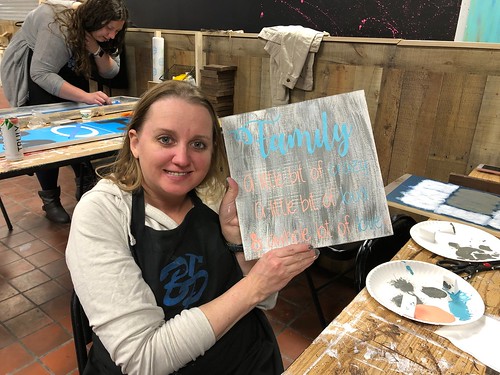
This is Tisha’s nearly finished “HOME” sign. You can see her helping Ennidh in this photo. I think Tisha helped several people with their projects but mos specially Ennidh since they were at the same table.
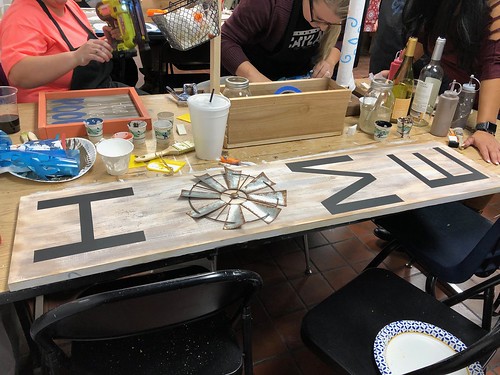
This is yet another reason why the Busted Pallet makes for a great team building activity. You get to work on projects together and learn about one another.
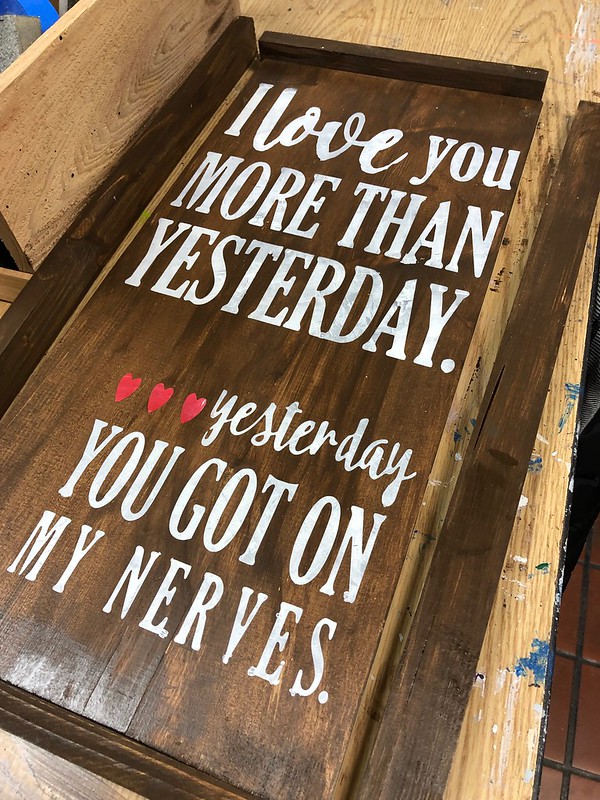
Ennidh’s sign turned out perfect thanks in part to all the work Tisha put in. LOL. I love this sign. It’s funny and sweet.
Here’s Tasha’s finished “Have a Nice Poop” sign.
Kati posing with her finished project.

Kim made a personalized one.

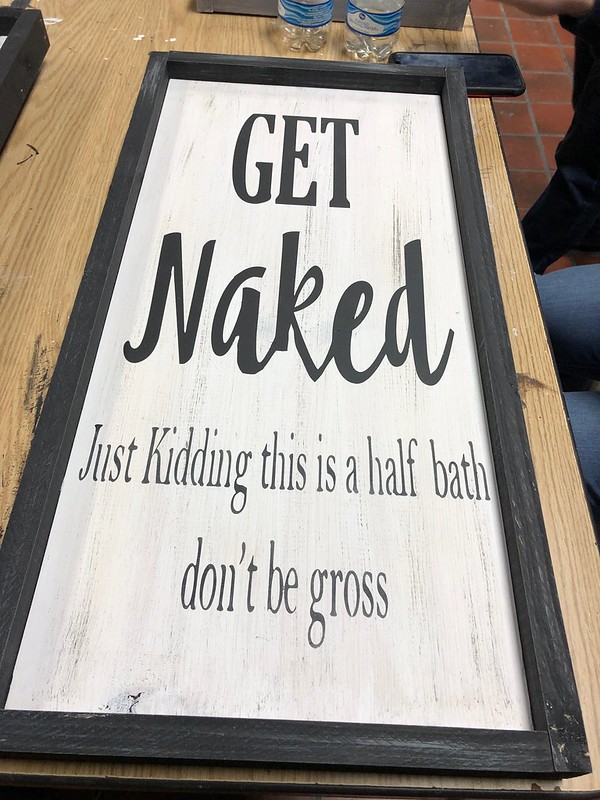
Alicia made this one for her half-bath that people use when they come in to use the restroom during pool parties.
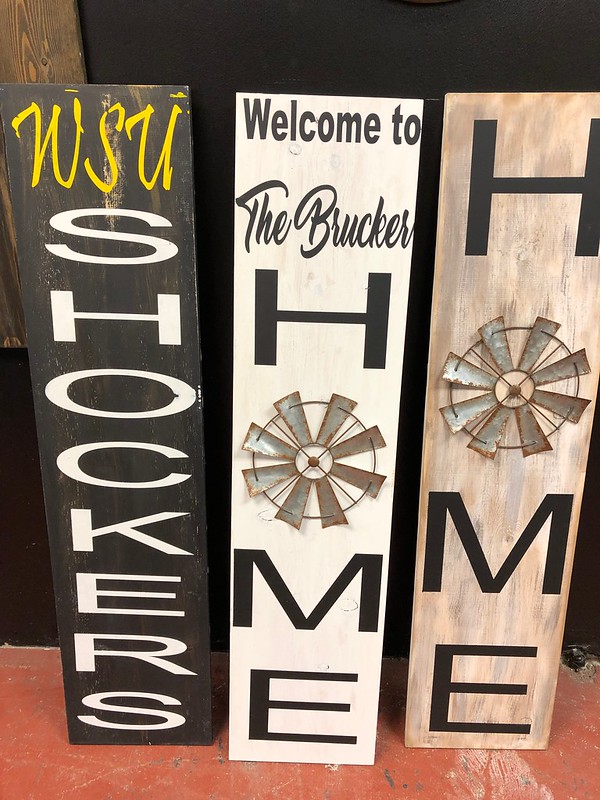
Here are the three porch signs that people made, side by side. Their projects were left at the store to be weatherproofed.
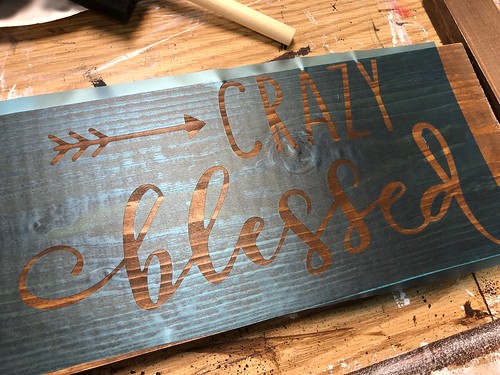
Before you ask to see pictures of my project, I have to say, I had the smallest and least ambitious project of all. I kind of wished I had picked a more challenging and bigger one after the fact but it turned out okay because someone had to take pictures at our event.
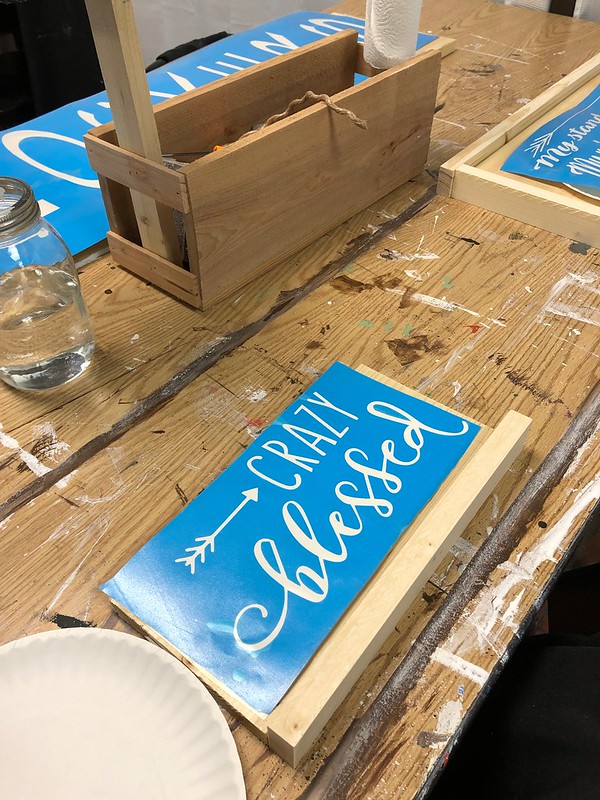
Here are some progress pics…
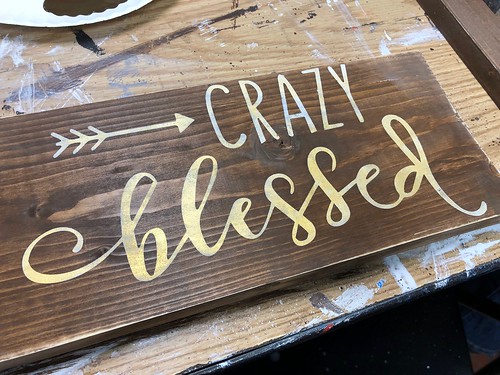
And the finished product…
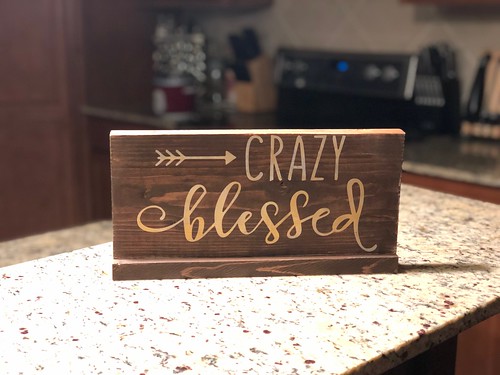
By the way, I tagged this as a potential date activity because I do think this would make for a fun date. I’m thinking of bringing Brian over for a date night sometime.
No Comments
New Custom Shirts
Posted on October 10, 2018 by Ching under Projects, Zumba.
I got some shirts from my new gym recently. Check out how I customized them.

This first one was a size Small so I had to expand it a bit to make it less fitted.

This next one is an Extra Large so I had to shrink it.

The best way to take shirts in is to braid parts of it. I usually braid it on the sides but this time I opted for braiding the back of the shirt. I achieved the braid pattern on this shirt by cutting several slits on the back of the shirt then weaving the slits down and back up.

Here’s what the finished product looks like.

I love how I managed to customize a shirt that was originally all the way to my knees and extra wide and turn it into a super cute workout shirt. The only downside is that this shirt actually got even smaller (and shorter) after I washed it. Now it’s almost like a cropped shirt. I’ll have to remember that next time and not to get overzealous when I’m cutting the hem.
Anyway, I promised a couple of my VASA Fitness Zumba girls that I would show them how to customize their shirts next week after class. So, if you’re free next Monday, come join us for 6:30 PM Zumba and stay after for the shirt cutting.
If you’re not a member, not to worry. We are running a #ClassPassMadness promo right now at VASA. I have several FREE CLASS PASS cards or you can request a class pass online here: https://vasafitness.com/class-pass-madness.
You can catch me at VASA Fitness on Saturday mornings at 8:45 AM for Aqua Zumba and Monday nights at 6:30 PM for Zumba. Hope to see you soon!
#ClassPassMadness ends on October 21 so don’t delay! Check out our beautiful gym ASAP!
No Comments
Fun Water Bottle Project
Posted on June 24, 2018 by Ching under Projects.
Brian surprised me with a really cool, customized insulated water bottle a few weeks ago. We both have S’well bottles that we’d gotten for Christmas a few years back. They work great but they’re kind of expensive.
Recently, Brian found some better insulated water bottles at Walmart. They work like S’well bottles in that they can keep hot things hot for 12 hours and cold things cold for 24 hours but they’re actually better in that they have a wider opening so they’re easier to fill with large chunks of ice and they have a built-in carrying handle. Not to mention they are cheap!
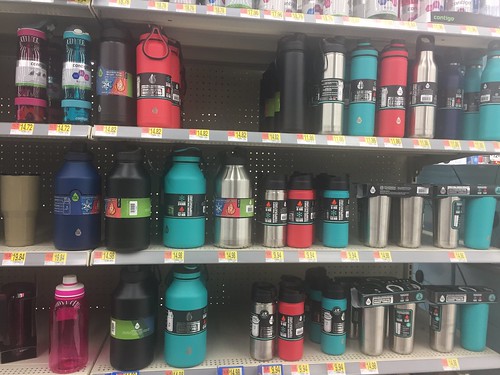
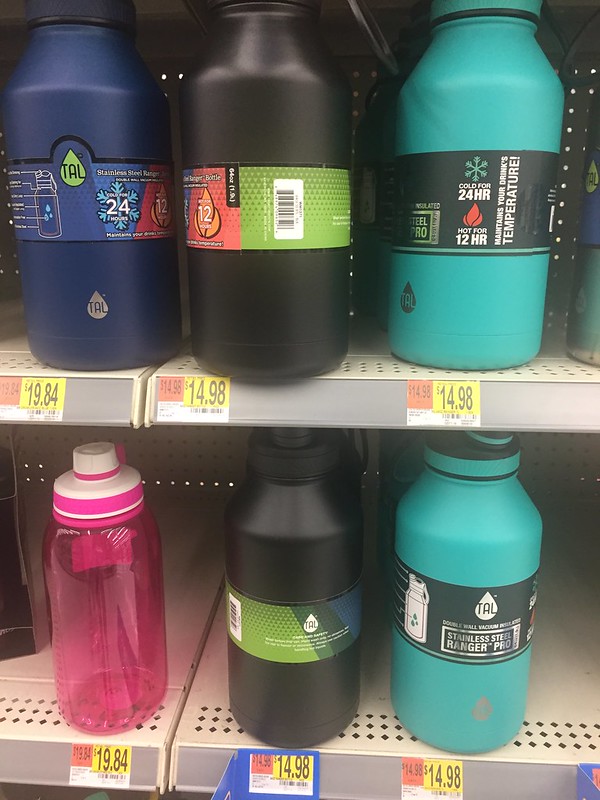
The Walmart by our house had tons of them in various colors. We saw four sizes: 64, 40, and 26 ounces. And, because we never can just have one of something, we got a bunch in various sizes. You can never have too many insulated water bottles.
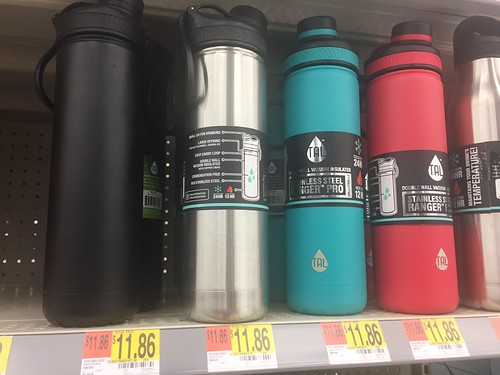
The skinny 26-ounce one was only $12. I mean, we could get three of these for less than the price of one S’well bottle. You can’t beat it.
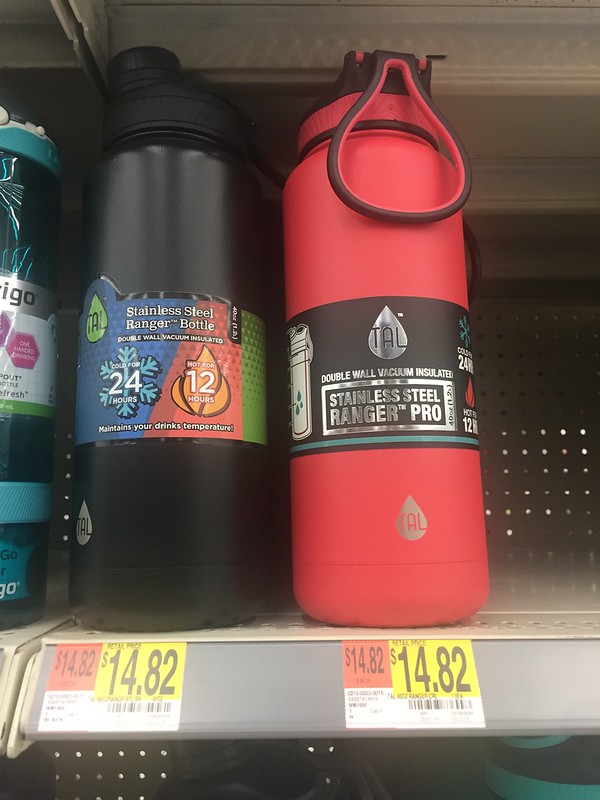
The 40-ounce one that Brian got me cost less than $15! The gigantic 64-ounce one was only a few cents more.
The best part about these water bottles is that if you mess up your project, it’s not too bad because they didn’t cost a fortune.
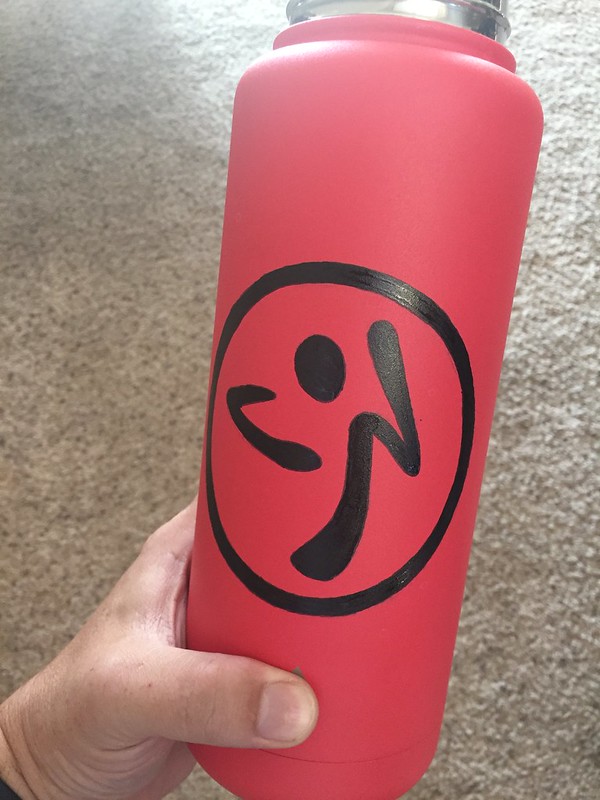
Brian’s brilliant project idea was to customize my new water bottle with the Zumba logo and my name. The finished product looked amazing! I could not wait to show it off to friends when I went to Zumba class. It is definitely one of the best surprise gifts that Brian has ever given me!

Here are some step-by-step progress pics for those of you curious how he did it and want to make your own. Brian says it’s not complicated. It just requires patience more than anything else.
Besides the water bottle, you’ll need permanent paint markers. Brian had some Sharpie ones that he purchased just for this project.
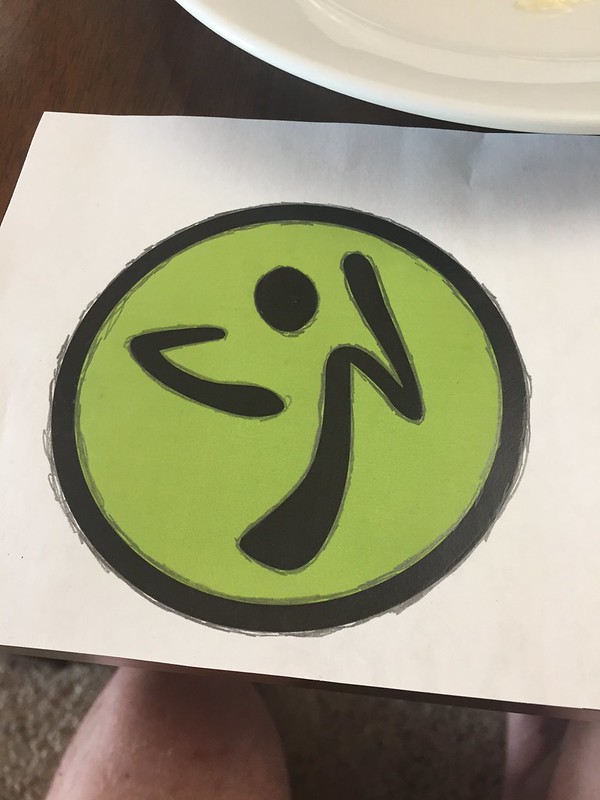
First, you need to create a template for the design you want to use.
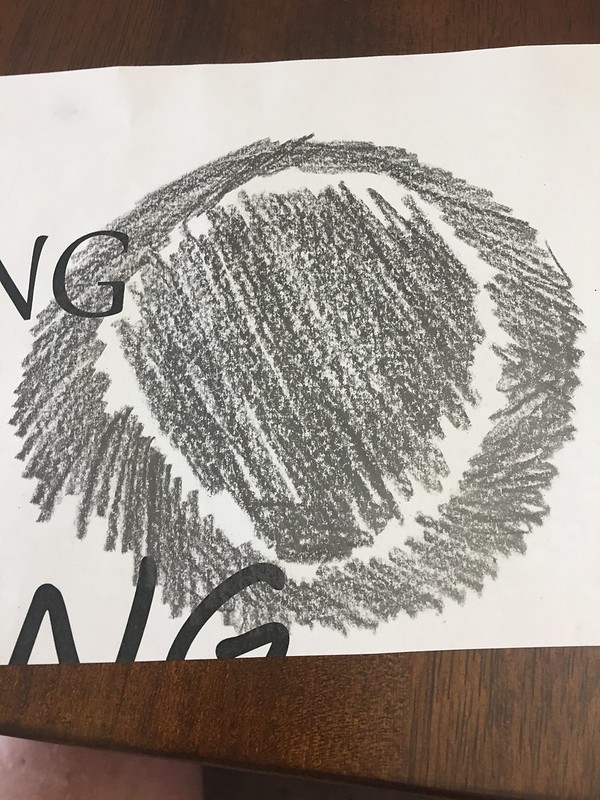
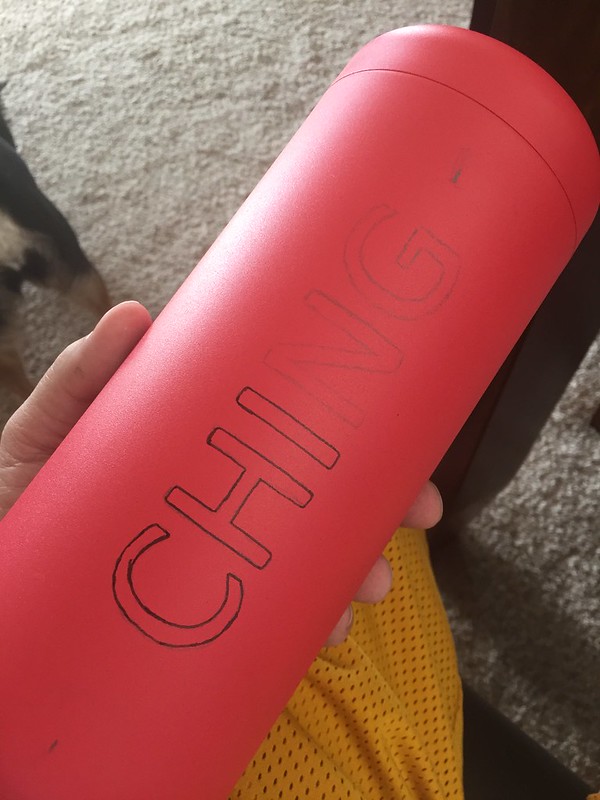
Then you cover the entire back side for the drawing in pencil lead.
This is how you get the design to transfer to the water bottle. You can also use carbon paper for this part but this is a nifty trick that Brian learned in art school and it works great in a pinch.

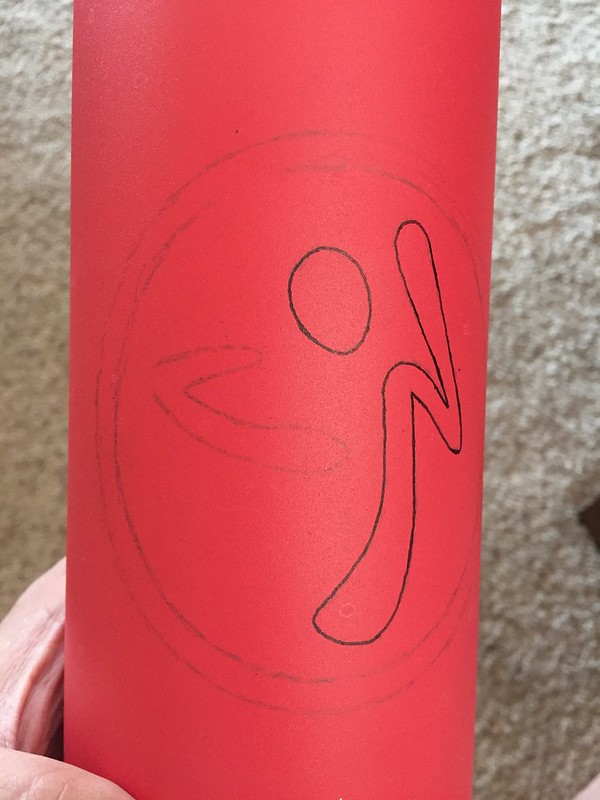
The next step is to trace the outline in Sharpie and then fill in the design with the paint marker. Brian recommends using the paint markers because they work on any surface and they hold up better than just a regular Sharpie but if you want to use a regular Sharpie I guess you could.
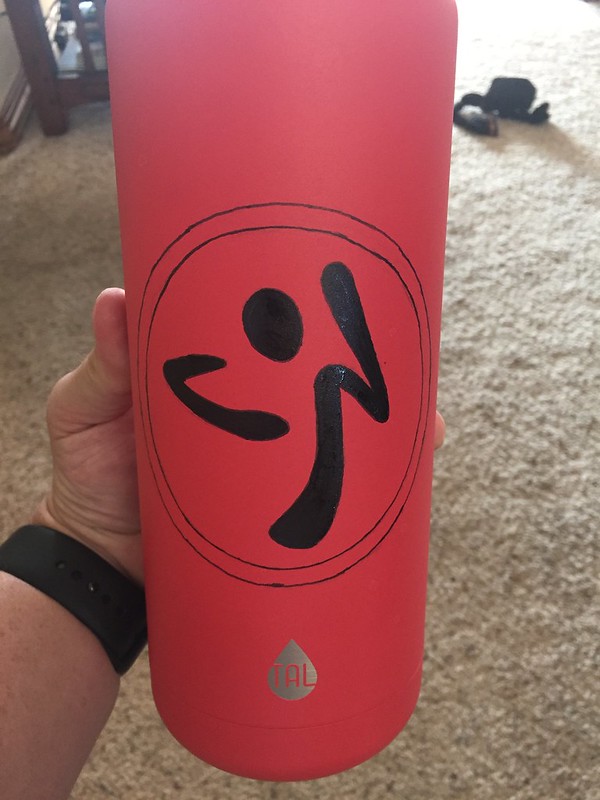
Once you’ve filled in the design, let it dry for at least 24 hours.
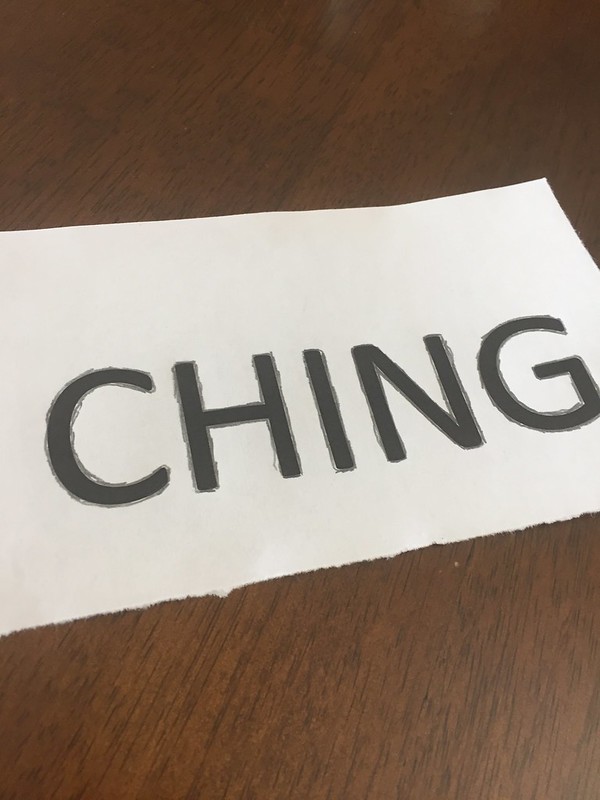
Next, he added my name to make it extra special. You can freehand this part if you have neat handwriting. Brian opted to use a nice font because he’s a perfectionist who is gifting this to another perfectionist. LOL.
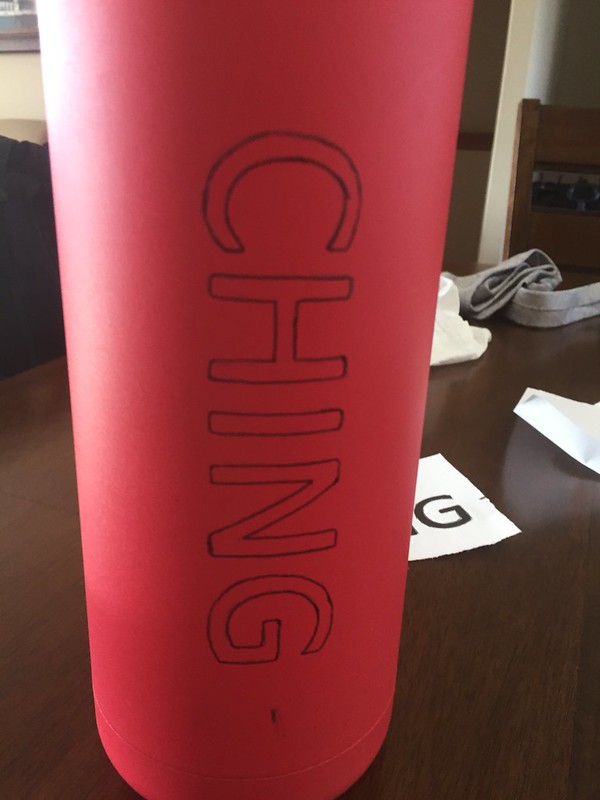
You use the same steps as before to transfer the design to the bottle, fill it in with the paint marker, and then let it dry for another 24 hours.
Voila! There you have it. A very cool customized water bottle that will keep your water (or beverage of choice) a constant temperature throughout the day. It’s so easy that Alex actually did hers during Brian’s party last weekend.
Anyway, I hope you’ve found this tutorial helpful. Next weekend Brian and I plan to each do a water bottle project LIVE on our FLIP + CHING Facebook page. Tune in on Sunday, July 1, around 9:30 AM.
If you’ve done a similar project before, let us know how it went in the comments. We love hearing ideas and learning from others.
Until then, happy crafting and GNG!
No Comments

